M2Slim Install Guide
Step 3: Shield modification
Overview
In this step the shield will be modified to allow the installation of the M2Slim adapter board using the drill jig and mounting bracket.If you are using power tools it is a good idea to use PPE and to protect your work surface.
Tools
2mm drill
Cordless drill, pin vice etc
Kapton tape
Screwdriver with Philips head #0 and #00 bits.
Deburr tool (a bigger drill bit or hand file)
6mm+ drill (if your shield has raised DSL mounts)
Kit Parts
Drill Jig
Mounting bracket
Mounting bracket screws
M.2 standoff and screws
Step 3.1 Attach drill jig
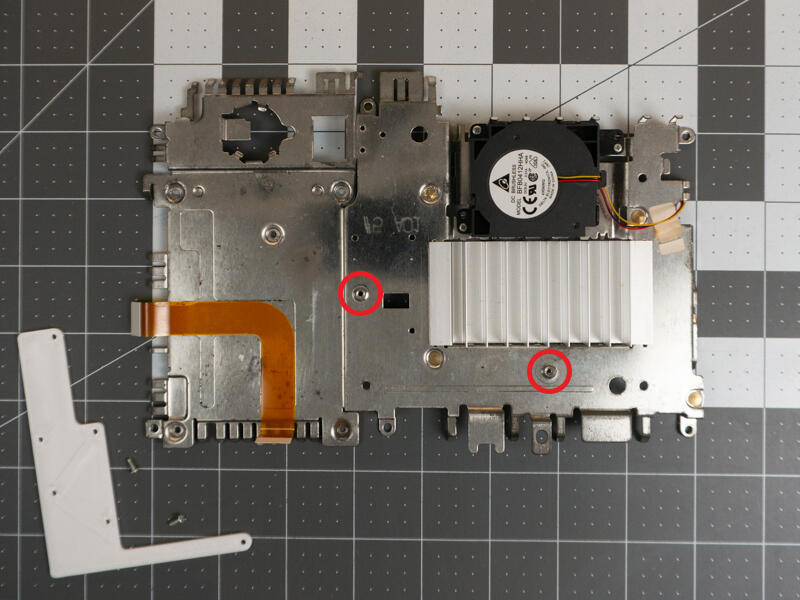
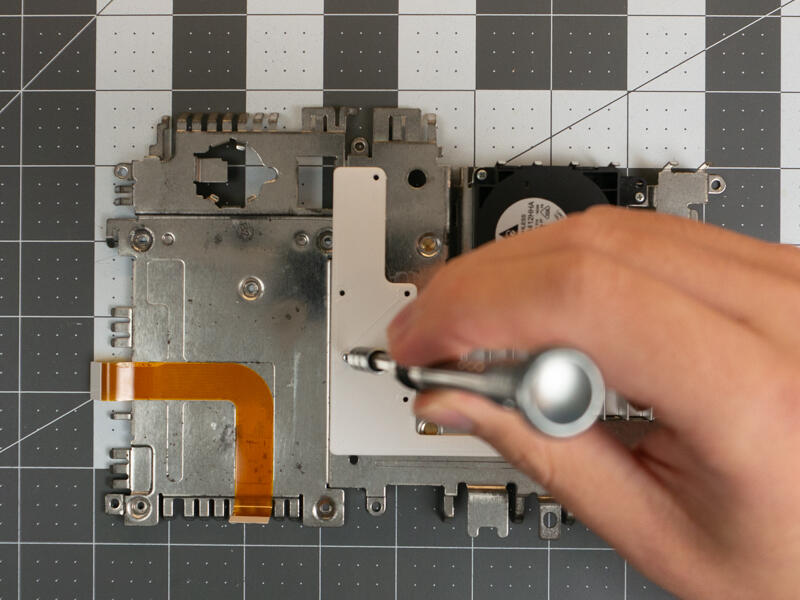
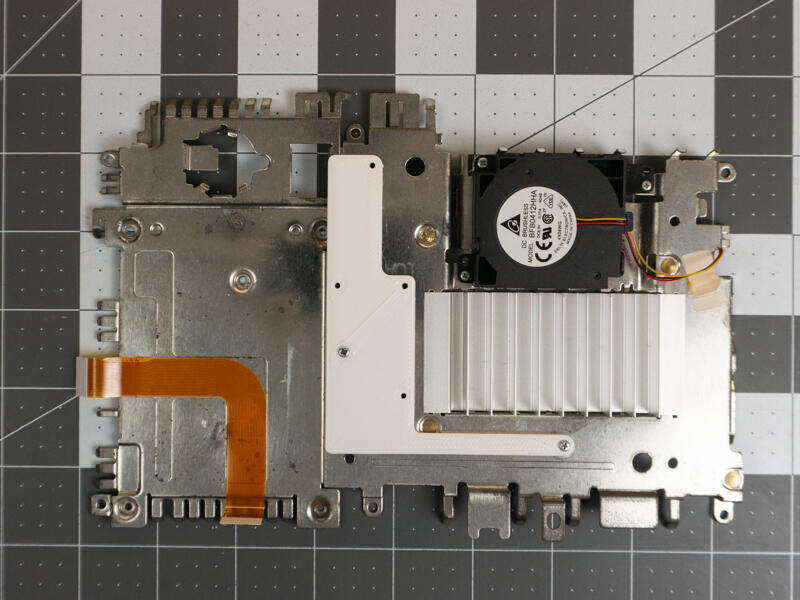
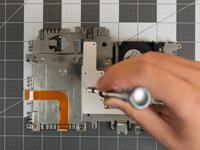
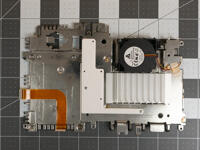
Attach the 3D printed drill hole template using the 2 DSL modem screw holes and some screws from the shielding.
Step 3.2 Drill through the shield.
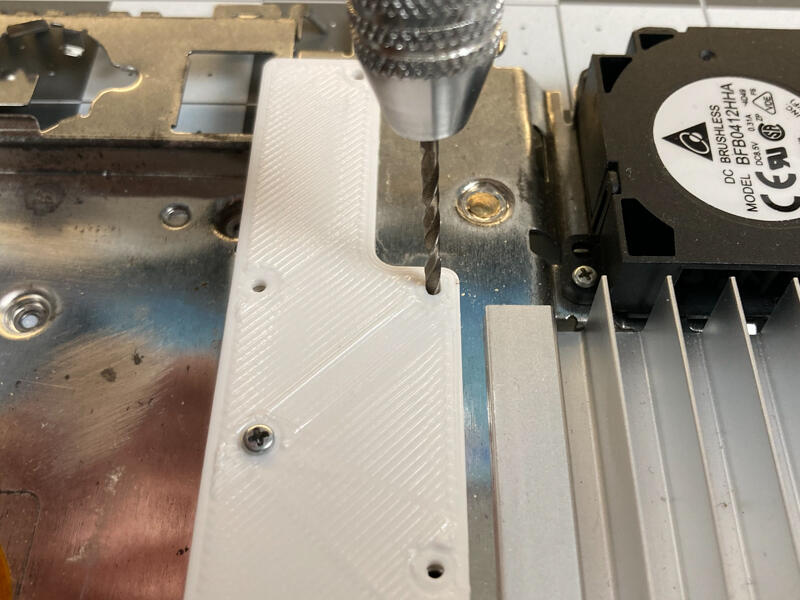
Using a 2mm drill, use the jig guide holes to drill through the shield.
It is a good idea to use a piece of cardboard or other material to protect your work surface.
Step 3.3 Deburr holes
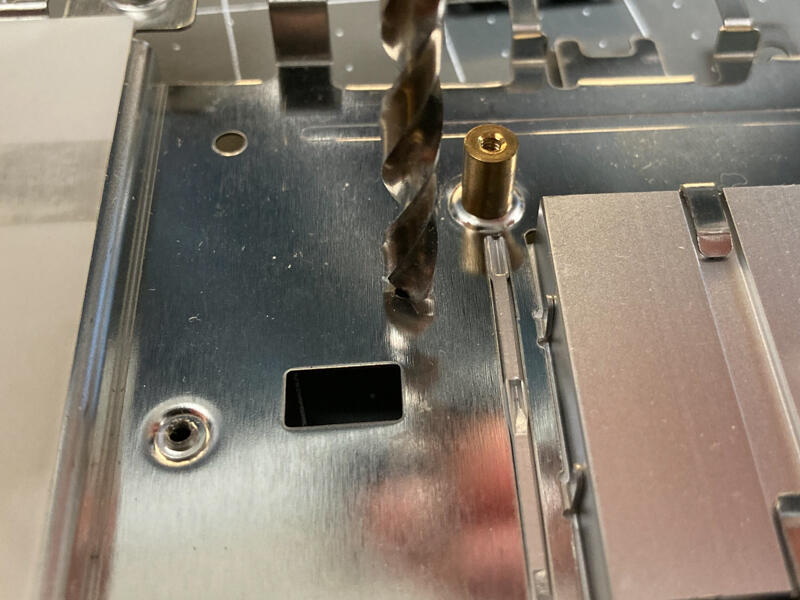
Deburr both sides of each hole using a larger drill bit.
Step 3.4 Remove raised mounting thread if present
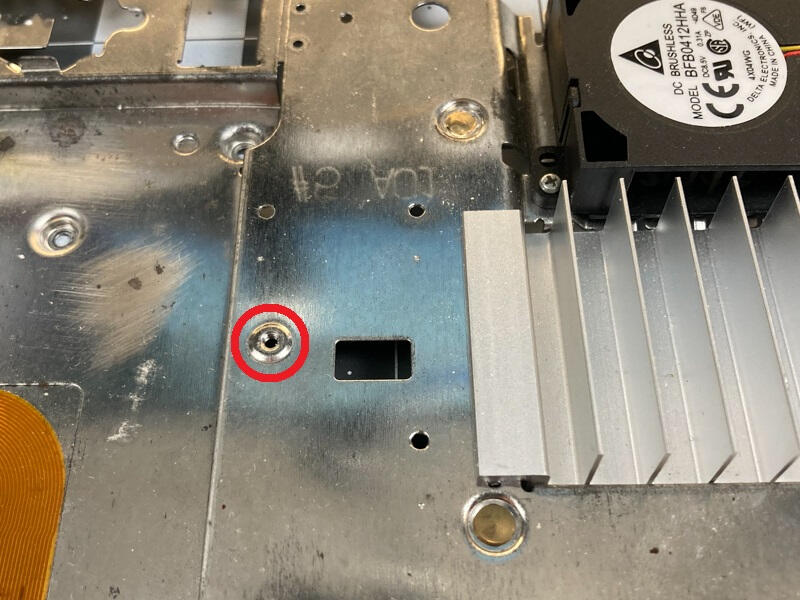
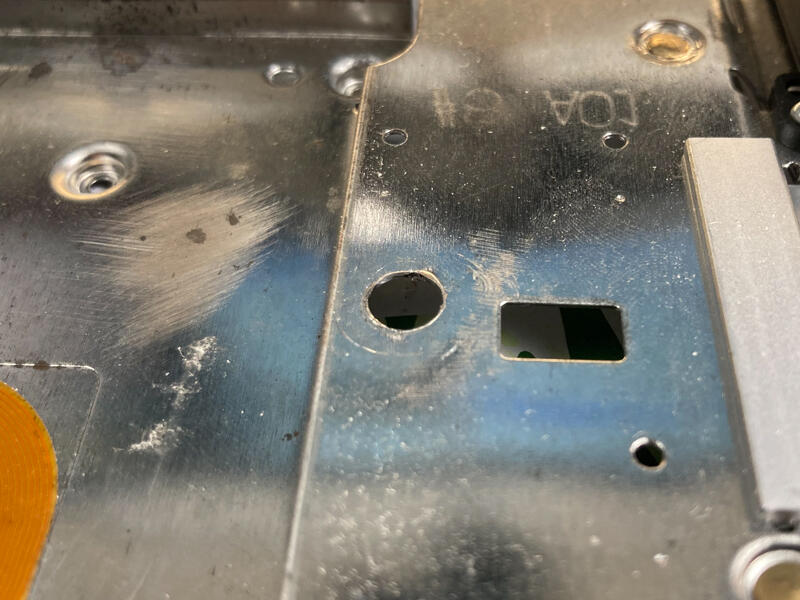
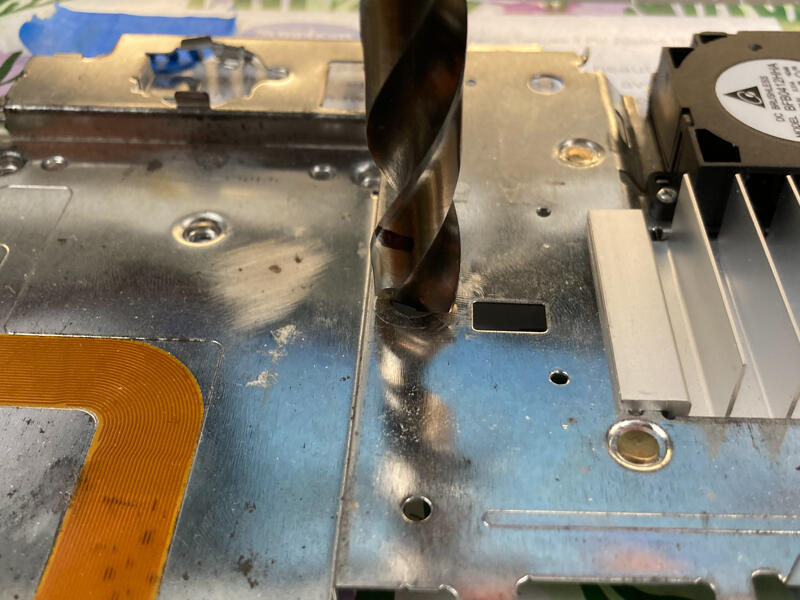
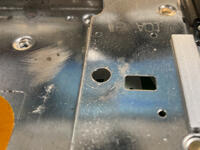
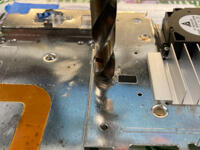
Identify if your shield has raised mounting threads for the DSL board. Skip this step if your shield does not have raised threads.
Use a >6mm drill to remove the thread near the DVD drive.
You may wish to use a series of increasing drill bit sizes and slow speed to avoid catching the metal. Doing so will deform the area and require a flat surface to hammer down.
Deburr the hole with a larger drill bit or abrasive.
Any sharp burrs or raised metal may damage the M2Slim immediately or over time with vibration. Use your finger to feel that the area is smooth.
Clean the shield and work area of metal shaving with a vacuum to prevent them from causing shorts or injury later.
Step 3.5 Attach mounting bracket
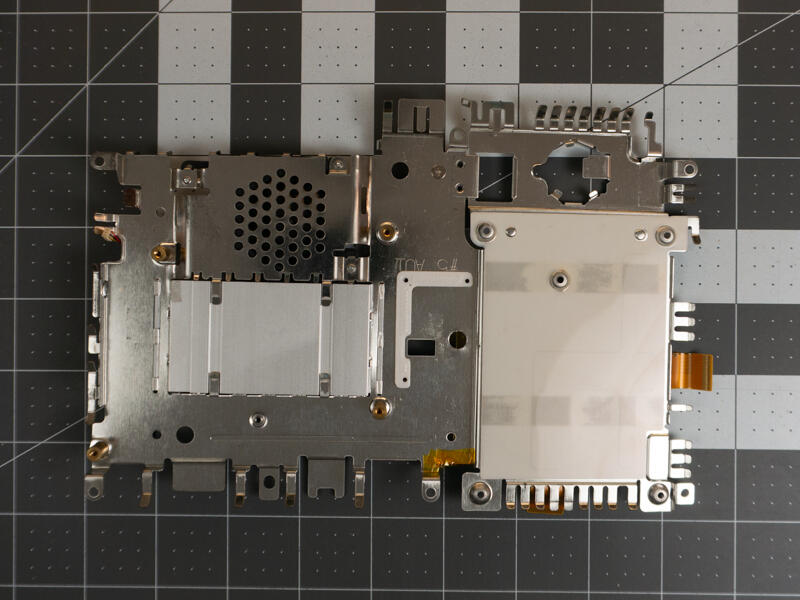
Align and attach the threaded 3D print to the back of the holes with double sided tape.
Step 3.6 Install SSD standoff
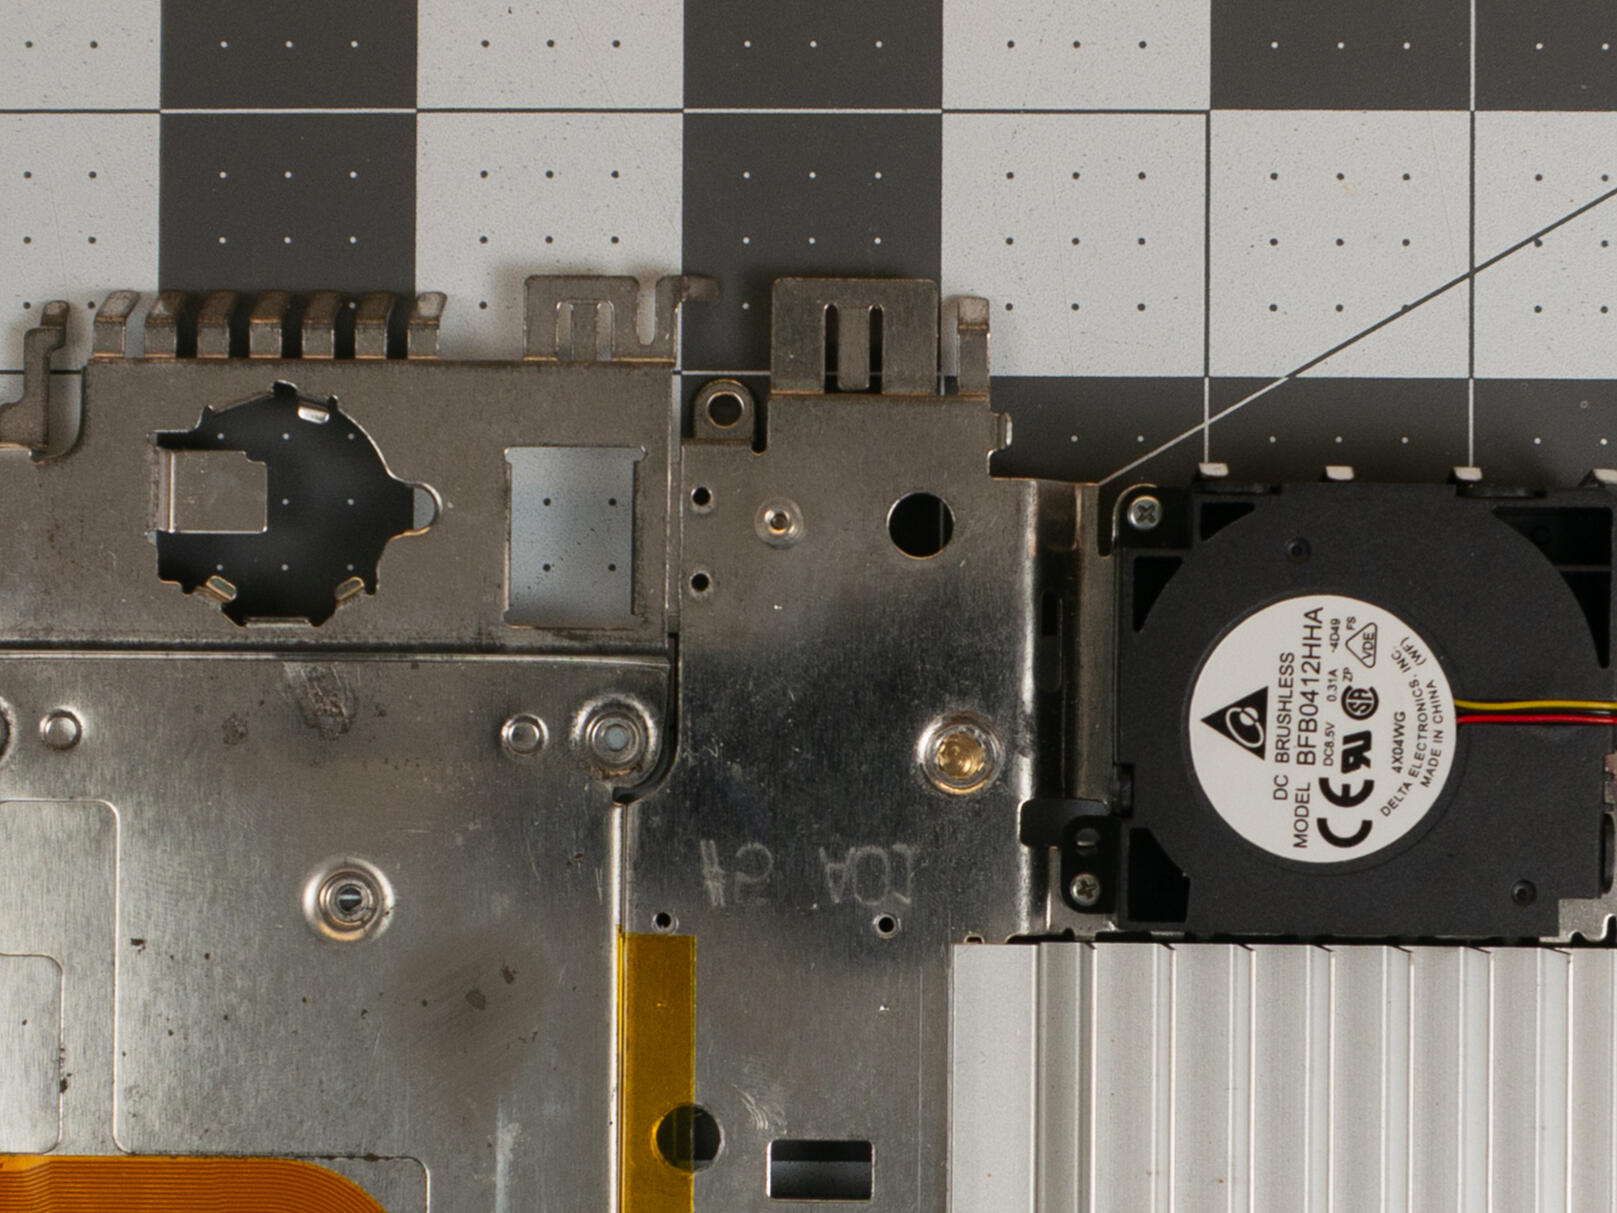
Screw the M.2 SSD mounting post standoff from the back side of the shield using one of the included screws.
You may wish to use blue loctite to prevent the screw from becoming loose over time.
You can also use superglue but this may frustrate someone in the future (most likely you).
Step 3.7 Insulate area under M2Slim
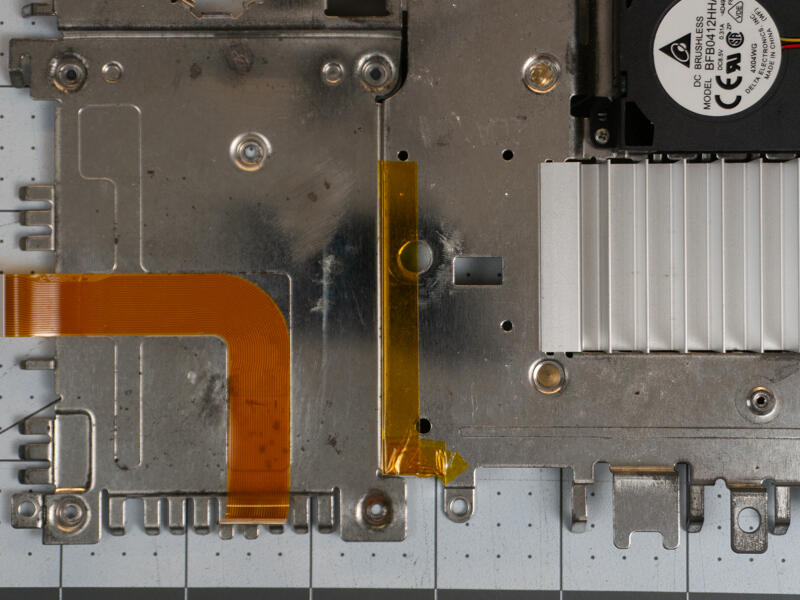
Apply Kapton tape to the shell to protect the solder joints of the flex PCB for.
Wrap Kapton tape around the metal edge where the flex PCB will pass through.